Honda CB550 strip down

I only thought about writing this blog after I'd stripped down most of my Honda CB550 so this instalment might be a little light on detail.
For this project I got a scissor lift as I knew it'd be down to the frame. I'd never used one before but it's pretty straightforward. I tie-wrapped two batons of wood to pad the gap between the frame and the bottom of the engine and it seems to be pretty solid after a few attempts to get the balance right. The frame tapers towards the front so it won't line up symmetrically. I'd definitely advise to put at least one ratchet strap on to keep it secure as accidental bumps and loosening stubborn screws & bolts does unbalance the bike. While kick-starting the bike it fell off the stand which was a pain in the arse.

I decided to strip the bike right down to just the frame and engine to see what I had to work with. Some of it was pretty straightforward but, as expected, some bolts and screws were stubborn.
My tank was empty so I didn't have to worry about draining it. However, I learned the hard way that the carbs have quite a lot of fuel in the float bowls. It's best to drain these using the screws at the bottom of the bowls before removing them from the bike.

Removing the carburettor
Getting the carbs off was a pain. The airbox doesn't pass through the frame and the rubber connectors joining the airbox to the carbs and carbs to the cylinder head were rock solid. Absolutely no give at all plus they wouldn't come loose without a fight and few skinned knuckles.

I ended up pushing the ones that connect the airbox to the carbs through inside the airbox to create some room. I then removed the 8 bolts that held the carbs onto the cylinder head and removed the whole assembly to the bench.
Those 8 bolts are tough to get at unless you have deep offset spanners which I had to buy.
The carbs seem okay, I think they just need a strip, clean and rebuild. The insides were badly gummed up as the fuel was like treacle. The garage absolutely stank of old fuel for days. The quicker I get the carbs sonic cleaned the better.


Top tip for stripping the carbs that I got from a You Tube clip - use a magnetic tray or some sort of box to put the screws, jets, floats etc from each carb so you know where they came from. It's also worth chalking 1-4 on each carburettor and the boxes as you end up flipping them round to remove things and loosing orientation. I didn't do this but would do next time. I also used a separate magnetic tray for the external bolts etc and placed them in the orientation that they came off to make it easier to put back together. Also, take plenty of photo's and/or vids to help with the re-build.
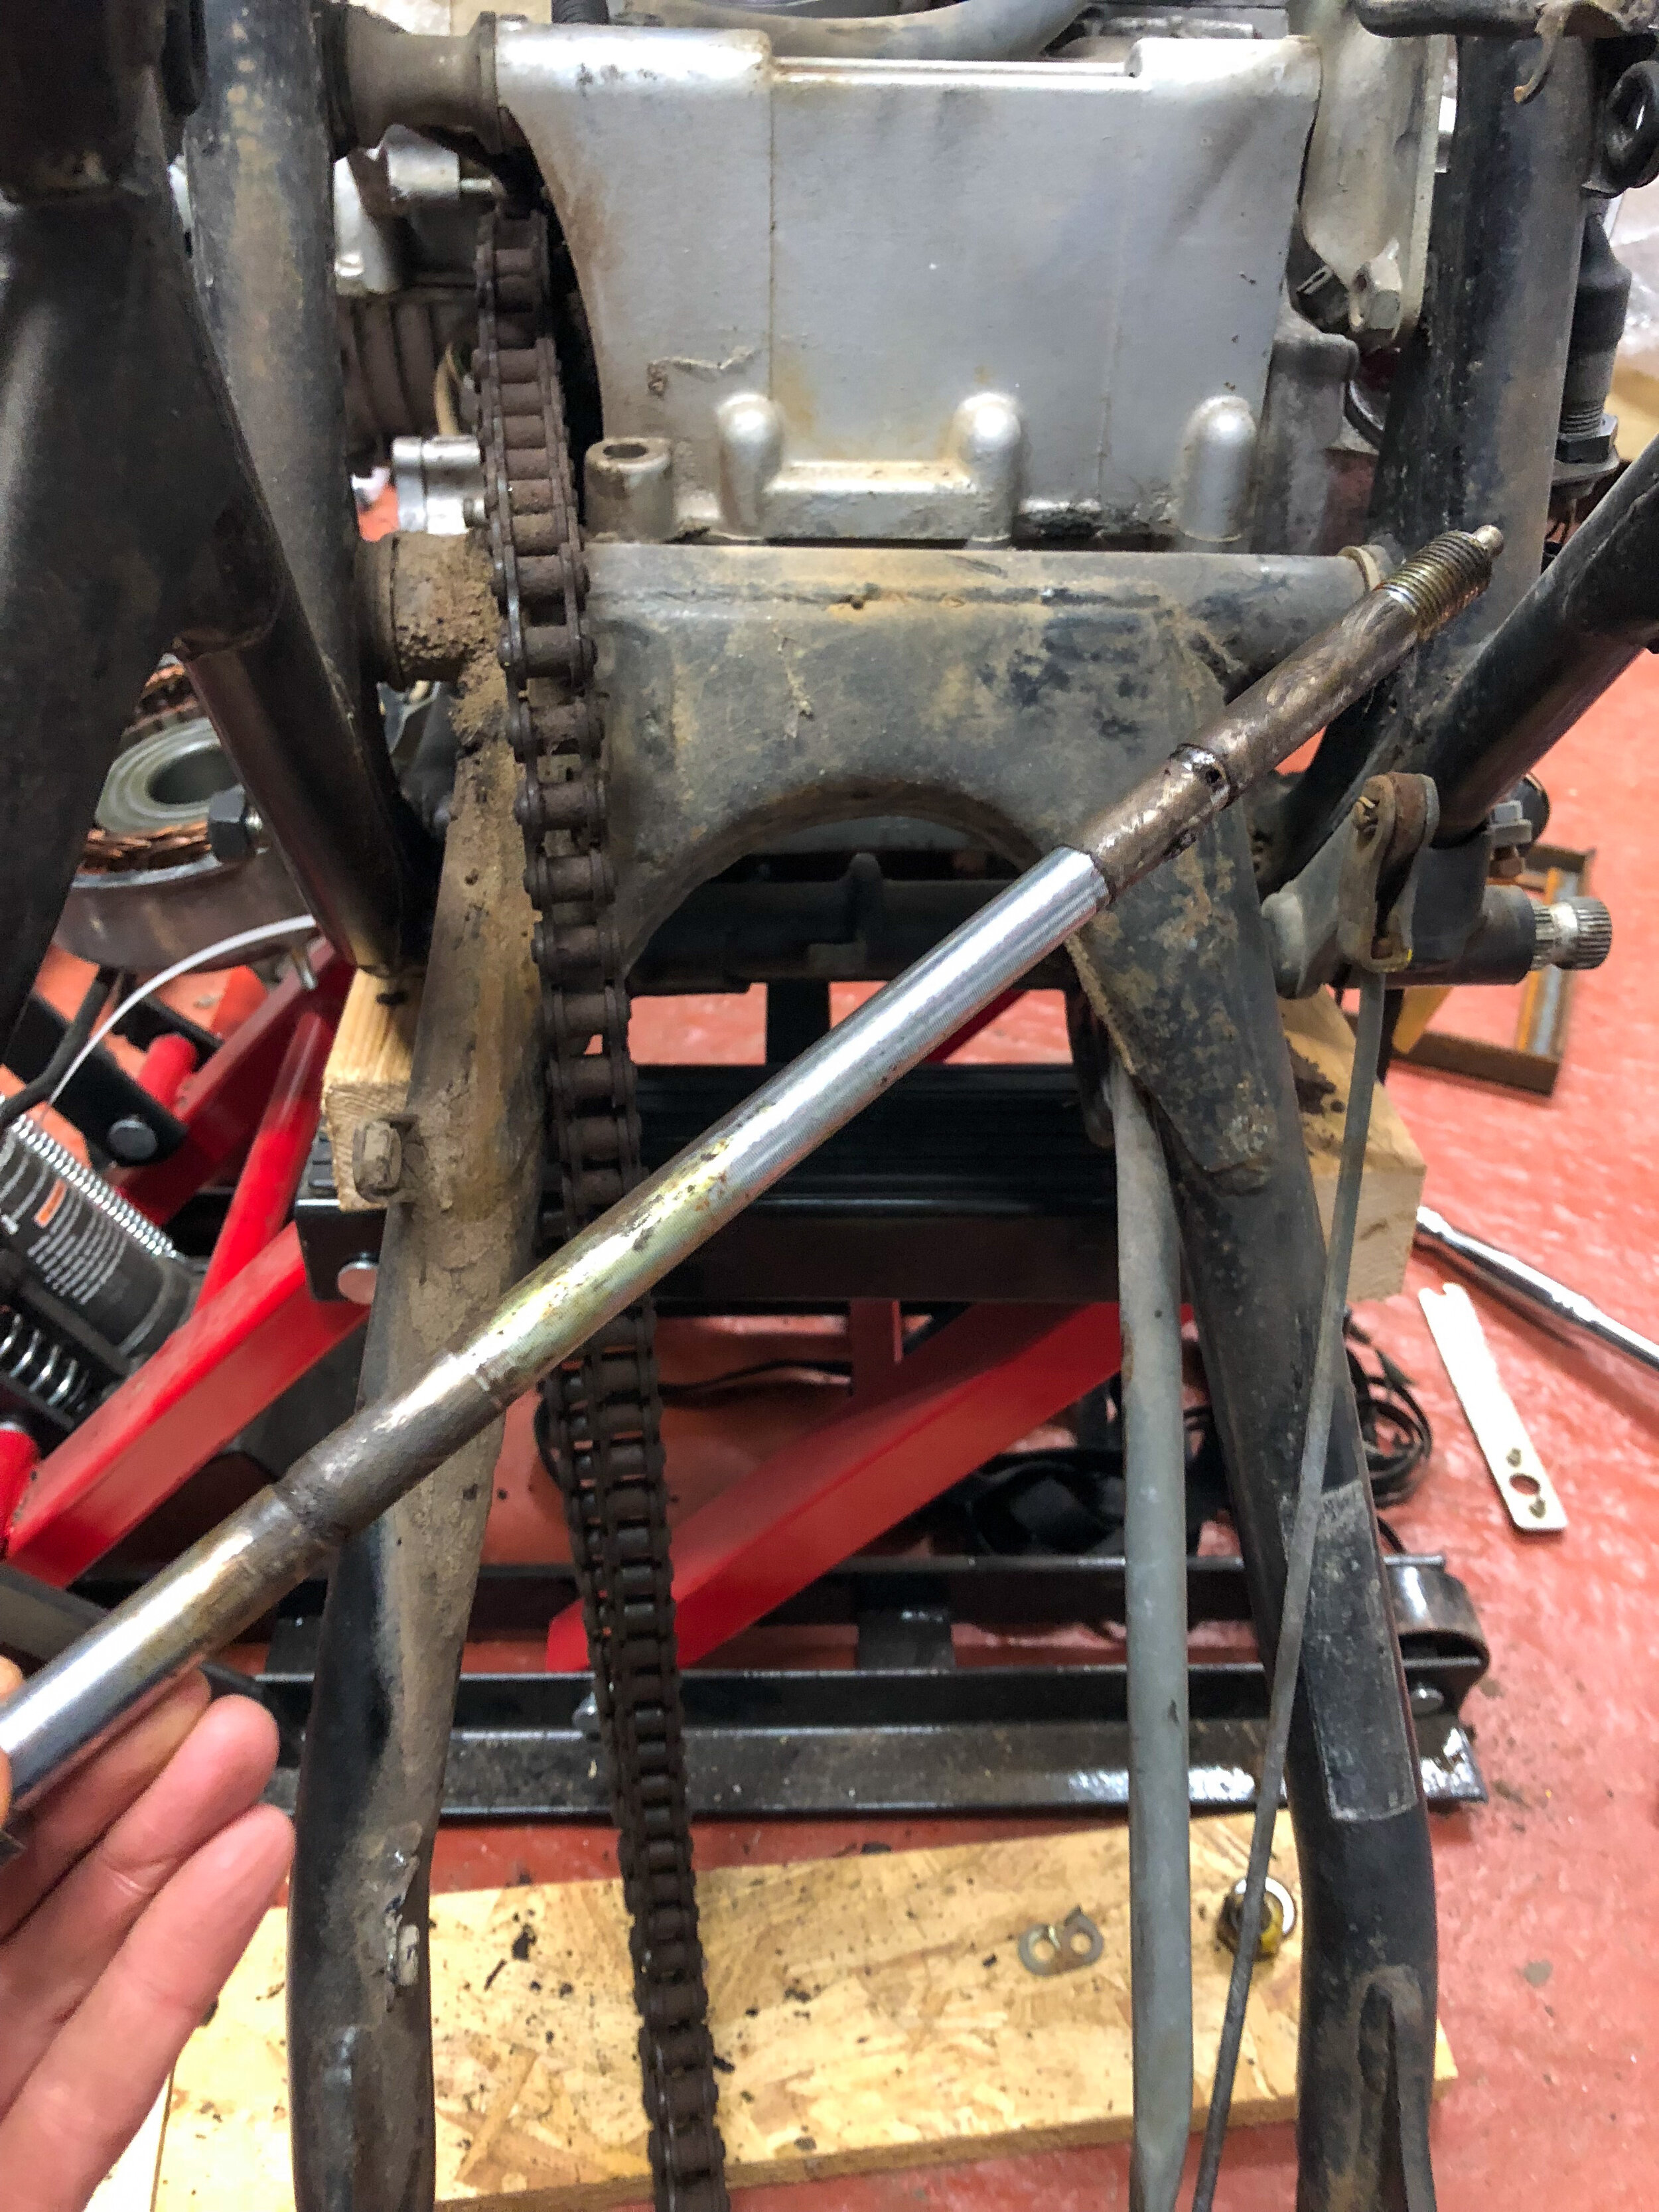
Removing the rear wheel & swing arm
My bike has the wrong wheel (I think it's a Comstar wheel from a CBX) and it was a bugger to get the axle out; it was pretty corroded. I ended up getting a long bolt and hammering it through with a heavy lump hammer.
This bike doesn’t have bearings on the swing arm but grease nipples and grooves to spread the grease around. New to me and a pain to strip down as the grease had solidified over the years.
Removing the wiring loom & electrics
For someone more used to modern bikes, the snakes nest of wires in the headlight was a surprise; it's like a Tradis in there! It took a while to unbundle them and pass them through the small hole to get the light off. I'm not using any of the wiring loom but I wanted to keep it intact to be able to sell it.

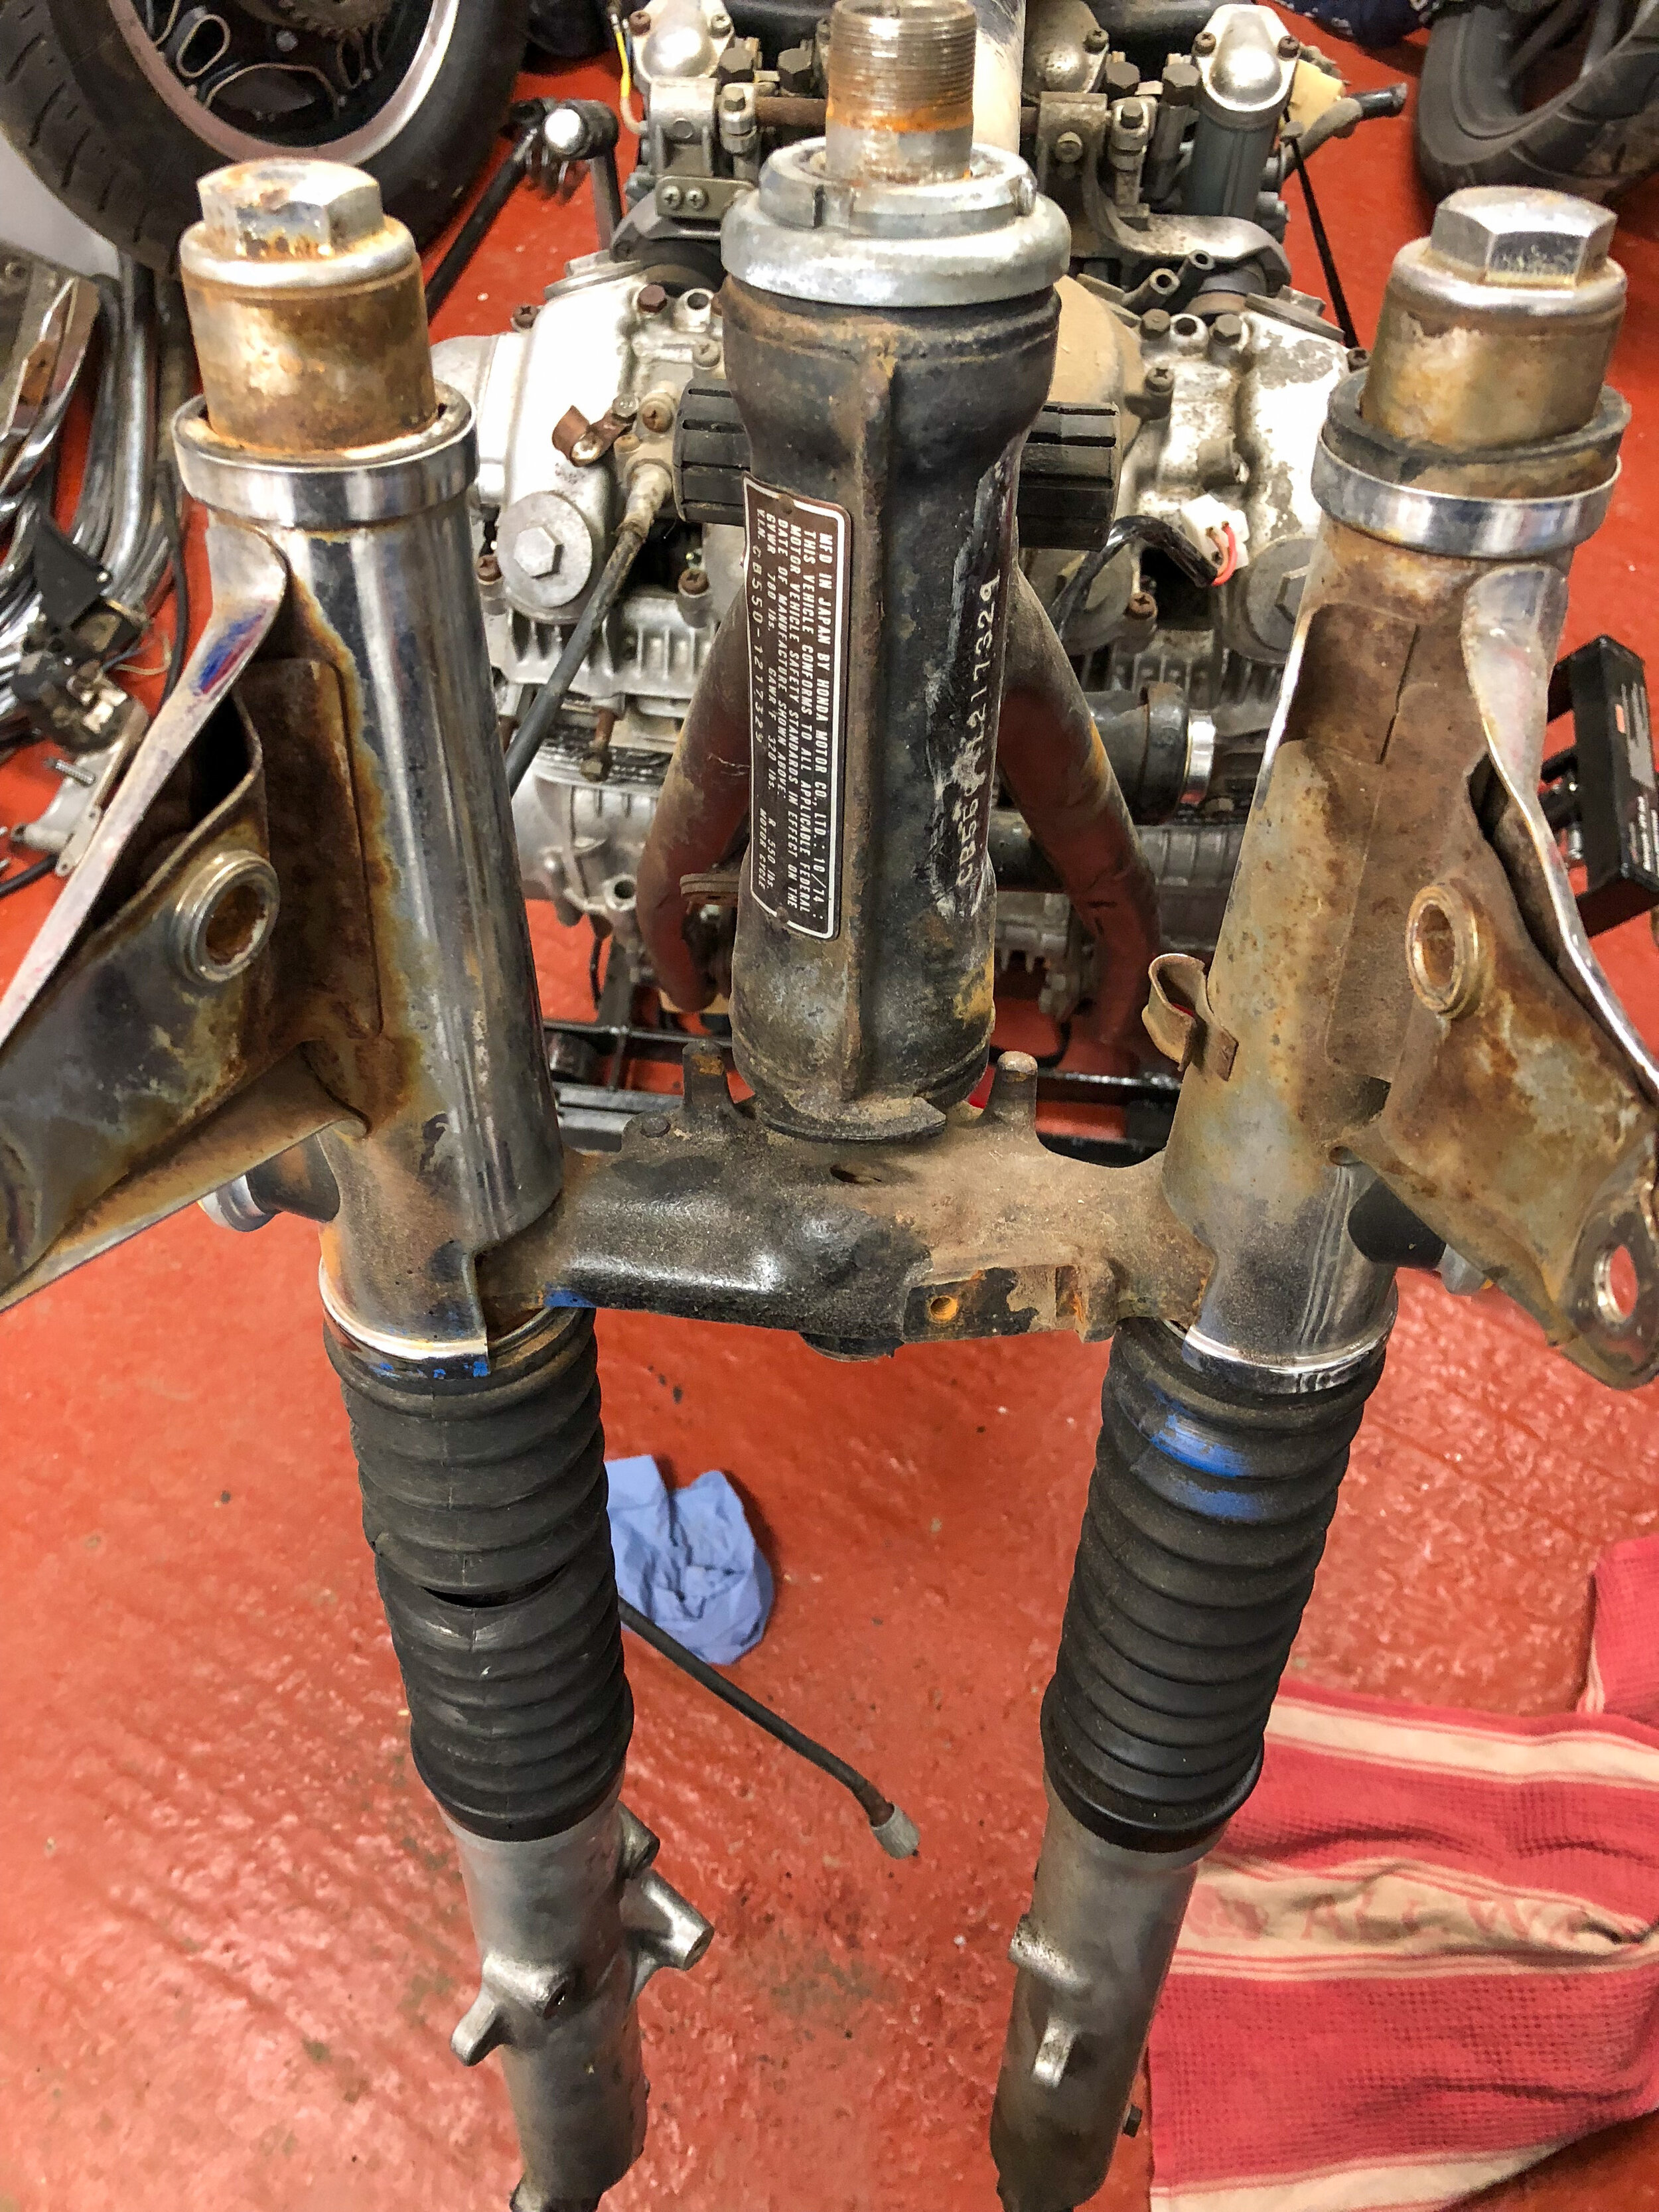
Taking off the front forks
The next challenge was the forks, there were well on there after 44 years. The top yoke was okay so the forks came away from the bike but getting the bottom yoke off took a lot of rubber mallet hammering to come loose.
I'd never seen proper individual ball bearings used before, I'm used to taper roller bearings. I'm still finding the odd ball bearing on the garage floor - they go everywhere if you're not expecting them to fall out.

Engine and gearbox
I've left the engine and gearbox in the frame for now. I ordered a compression test kit (£9 on eBay) to hopefully diagnose any internal issues early on. The alternator / stator cover wasn't budging so I ended up buying a cheap impact screwdriver to get the 4 screws off.
If you've never used one before, watch a YouTube clip. You have to torque it the way you want the screw to turn while hitting it as opposed to just whacking it straight on as I started doing. They're really effective for the price (£9 on eBay) and I'm sure I'll use it again.

The garage is now full of parts that I need to clean and list on eBay to (ever so slightly!) offset the parts spend. Time to cut the frame…